")

Clover Lashes have taken off as a hugely popular eyelash extension option for lash artists who want to give their clients full, volume effect lashes, with less time and effort. They have incredible retention, and can make lash life easier for the artist. But the big question many artists have is how to incorporate Clover Lashes in to your menu, and what to charge?
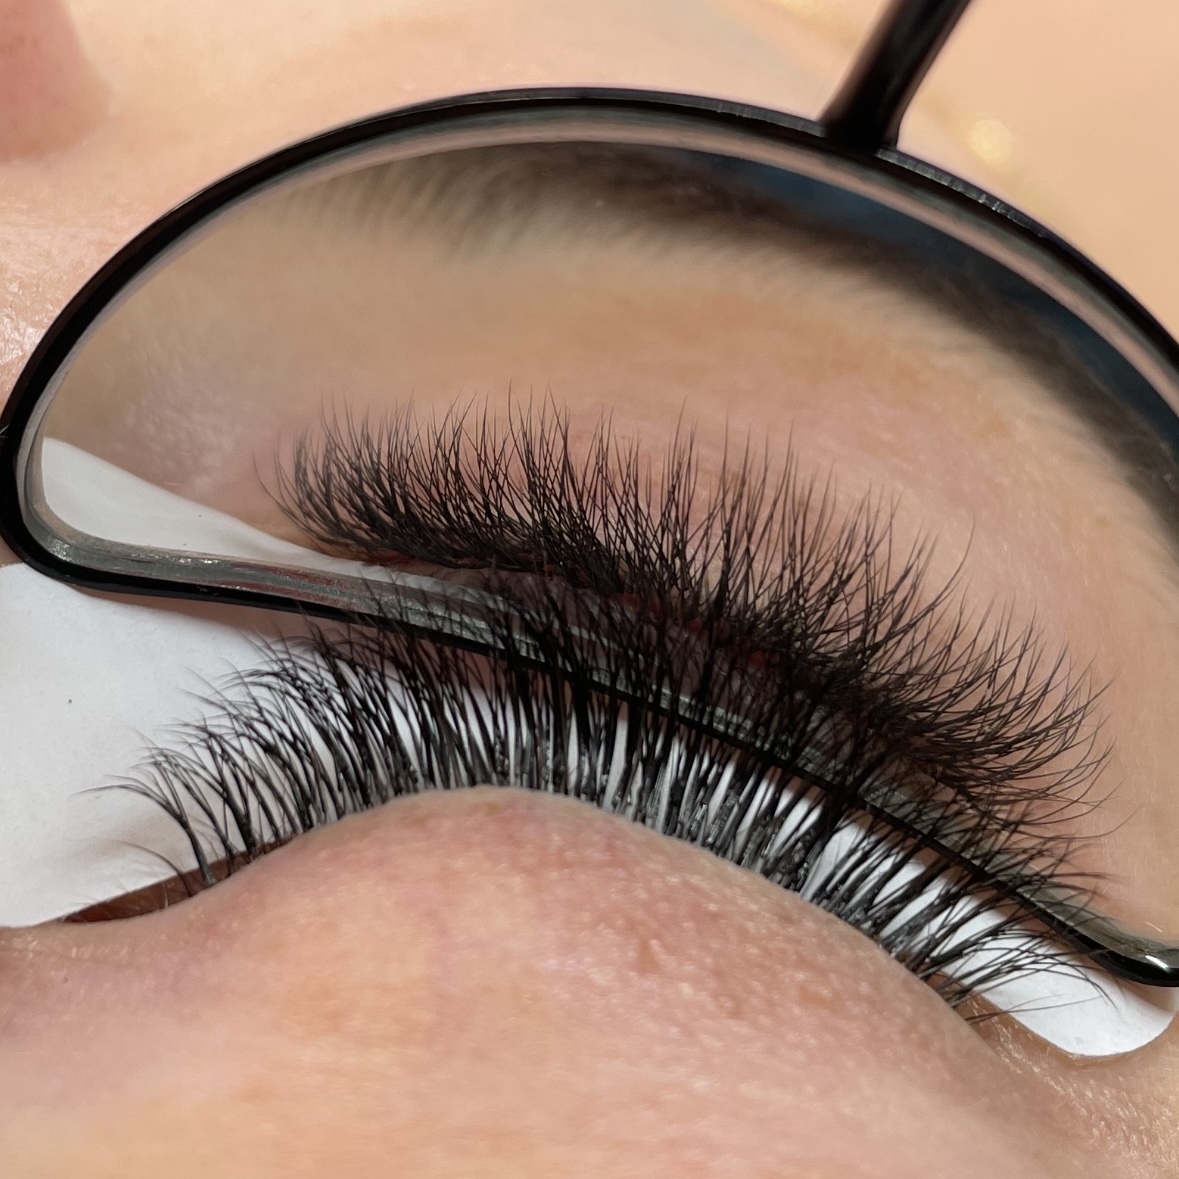
What are Clover Lashes?
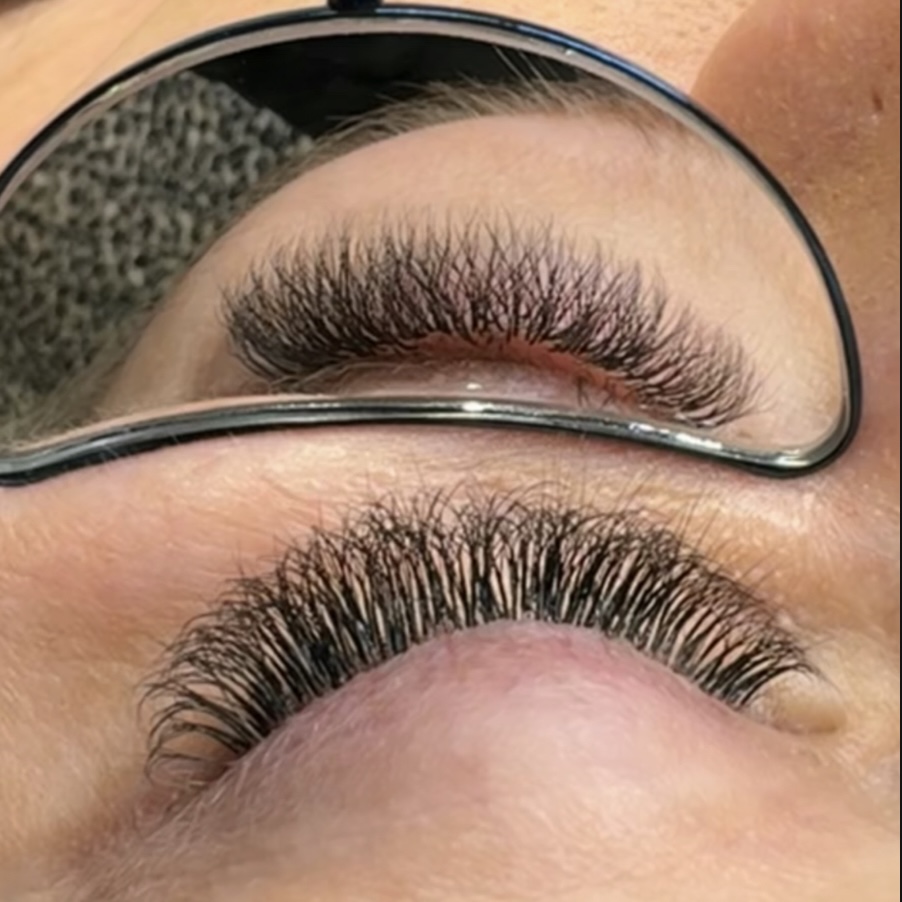
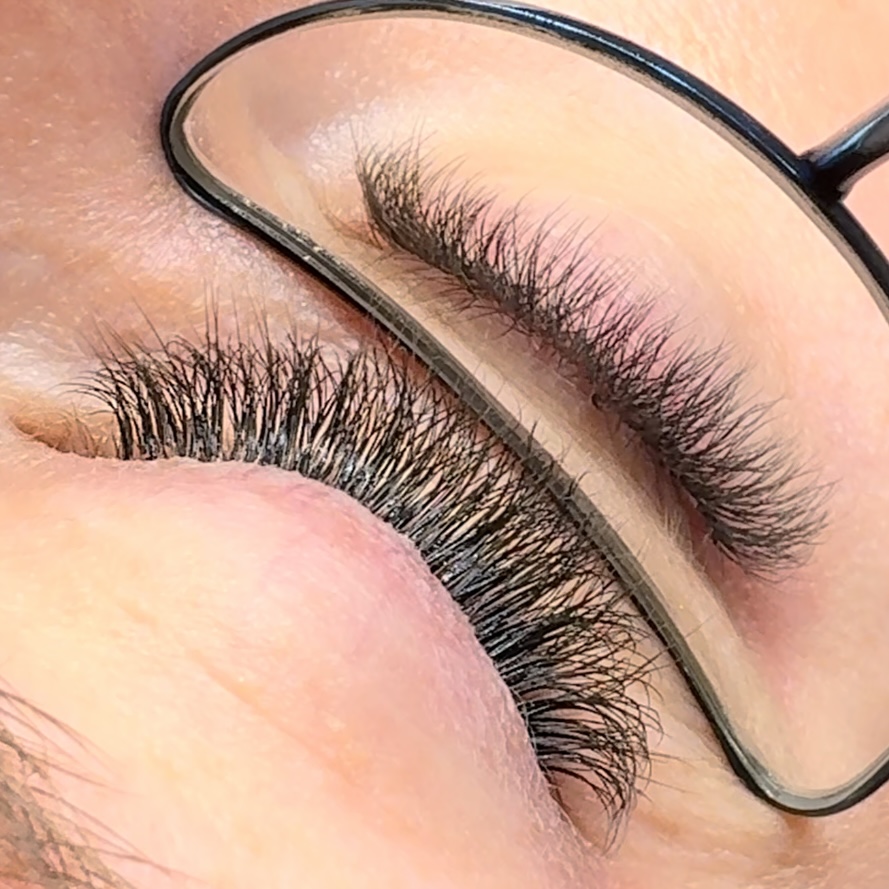
Clover Lashes are the newest technology eyelash extension that gives a volume effect with the speed and ease of a classic lash application.
They give a gorgeous volume look due to their 3-D tips, while having a Classic Lash Extension base. So they apply as easily as classics, while having fluffy tips. I have found them to be much more easy to work with than premade fans. They are more reliable in curl hold, length specificity, and retention.
How do you add them to your lash menu?
Firstly think about your current lash menu. If you happen to specialize in light, fluffy volume Clover Lashes can seamlessly be added right into your current sets. The benefit for the client is that you can apply more lashes, in less time. This allows for more coverage, fuller looking lashes, and more coverage = longer retention.
Clover Lashes do not replace Mega Volume, Wet Sets, or Classics. So the best way to think of them as your every day typical volume look. If you currently offer that look to your clients, you can simply just start filling their lashes in during your touch up appointments with Clovers. You can even do 1/2 the appointment with your handmade fans, then fill in the rest with Clovers.
If you want to discuss with your clients a great way to mention it is that you have some “new volume lashes that allow you to work faster and get their lashes fuller”.
If you do a lot of hybrid lashes, you can replace your volume fans with Clover Lashes, and continue with your classic lashes as needed for the hybrid look, or to add a wispy, texture to your sets.
A greate way to think of Clover Lashes is like Premade Fans more easy going, and more reliable sister. You can use them just like premades, but enjoy the easy application just like classics.
What to charge for Clover Lashes
This part really depends on your business. But I will tell you how I would do it. Firstly starting with letting clients know I have a new volume lash and would they be okay with me trying it for them today? Let them know it is designed to let your work faster and get their lashes fuller.
One thing I’ve learned about lash clients since 2008 is that the #1 thing clients care about is results.
In my experience with Clover Lashes, I can not only give my clients the look of soft, fluffy volume, I can actually work so much faster. So for me, the results are as good, if not better, than traditional volume lashes.
These results tell me that I can charge the same for Clover Lashes as volume, because I am giving an equal (or better) result. If the retention and results were lower, then the price would need to be lower.
Again, this is very personal for each business. If you have really positioned yourself as a handmade only volume artist who’s clients find the hand made aspect really important to them, you may need to consider pricing Clover Lashes differently. I would not suggest charging much less, but giving the option of handmade versus not hand made. Your handmade appointments could be longer, therefore resulting in a higher price. Clients who want handmade can pay a little more and have a longer appointment. Clients who value getting more lashes in less time can get Clovers and pay slighlty less.
So ideally if you charging a little less for Clovers, you are still making the same per hour because you can reduce your appointment time.
All of this works out to be a win-win for the lash artist and the lash client.
My fave tips for getting maximum results with clovers
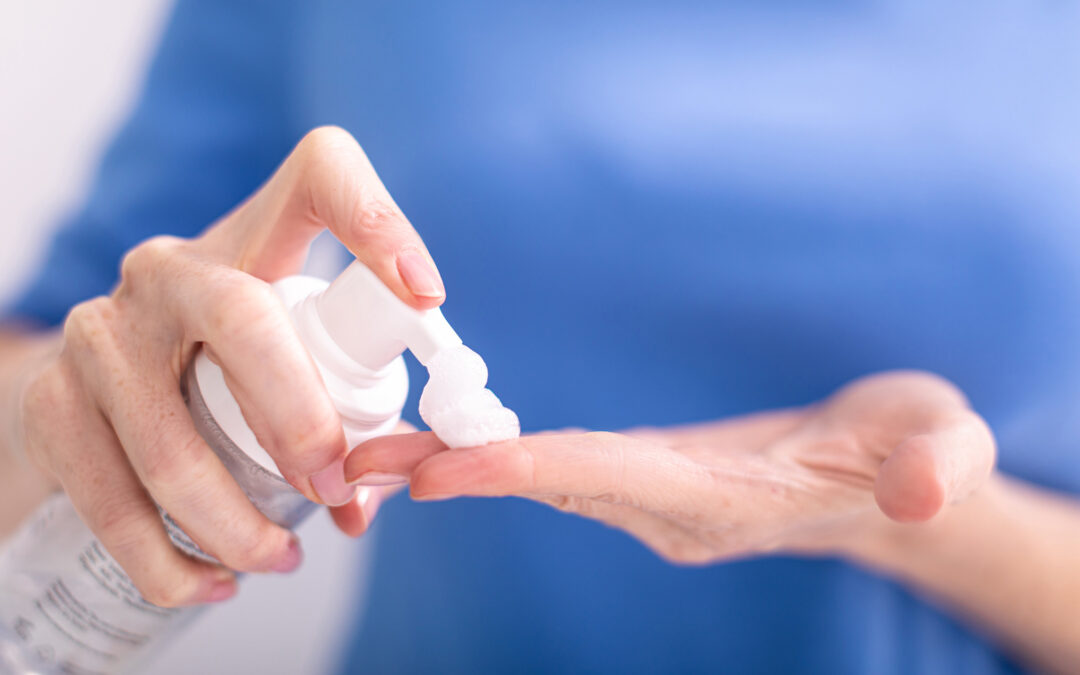
1) Make 100% sure your adhesive is at the very base.
This is a retention secret no matter what type of lashes you are applying. But I’ve found when artists try a new type lash, any bad habit that maybe has been accounted for with the lashes they are used to can rear it’s ugly head with the new lash. Any new product cant take a little time to get used to, but making sure your adhesive is as the very base of the extension is a crucial element to great retention.
2) Pick up the classic section of the lash, then pick up at the fan.
A quick pick up where the lashes are joined together helps to ensure the base stays connected. Then I like to drop my lash on the tape and pick up mid way up the fan for the greatest control.
3) Keep them short on upper layers. When using Clover Lashes being mindful of the layers of lashes is vital. Applying shorter lashes along the upper layer helps the styling blend and stay neater looking.
If you haven’t watched the video on How to use Clover Lashes, check it out to get the best results of this amazing new lash option!
Still unsure and need help pricing your Clover sets, or a complete pricing overhaul? Schedule a call with me by clicking here.